Please also memorize our Safety Information!
Preparation of the Hoof
The professional preparation of the hoof before shoeing with Duplo is quite similar to its preparation before shoeing with any other horseshoe.
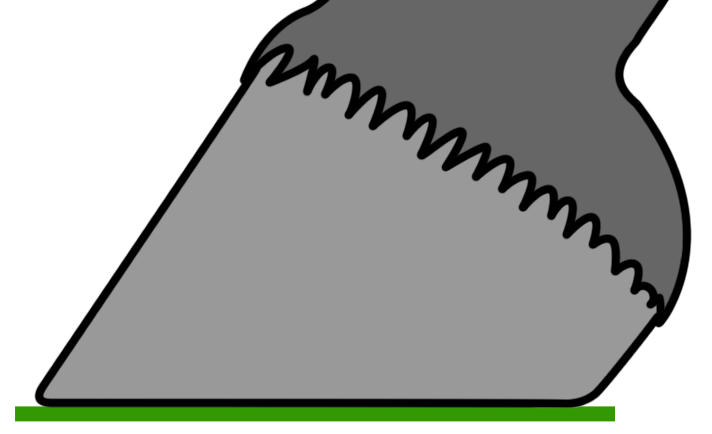
Please make sure that the hoof wall is some millimeters longer than the sole after rasping! If you shorten the hoof wall too much, the horseshoe might put undesirable pressure on the sole.
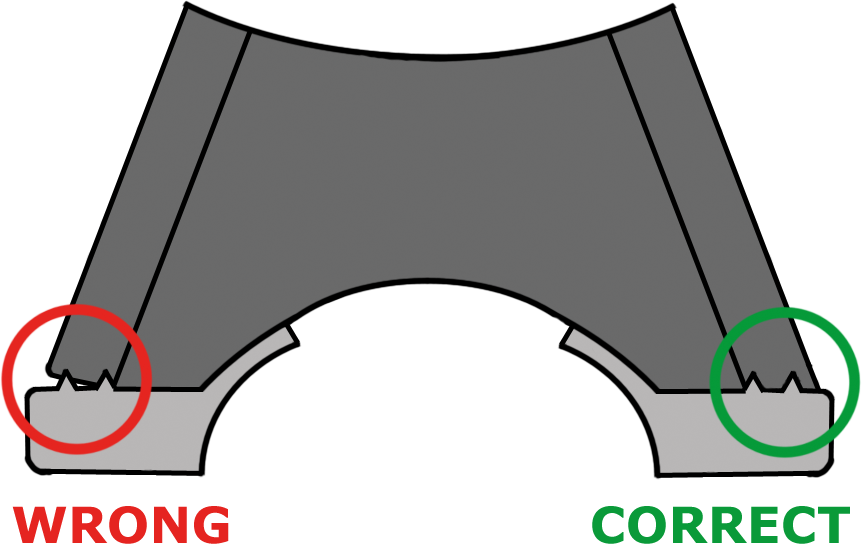
Please also make sure that the hoof wall is absolutely plane after rasping! If the wall is uneven, the hard knobs of the Duplo Horseshoe can't impress into the wall and the horseshoe won't be protected against torsions.
Preparation of the Horseshoe
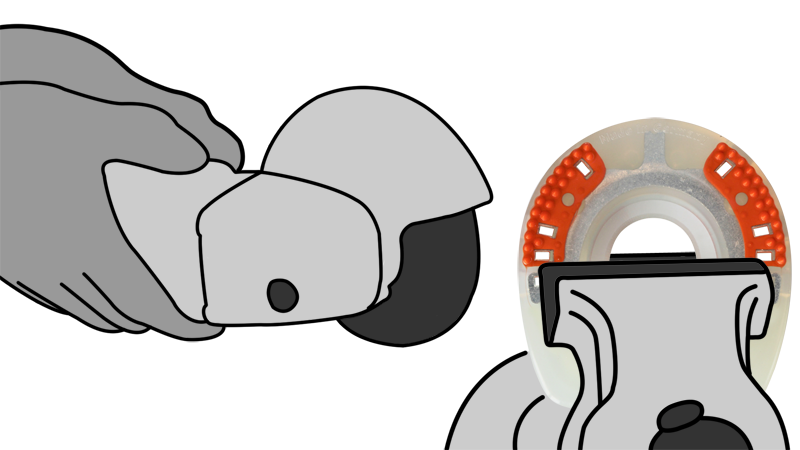
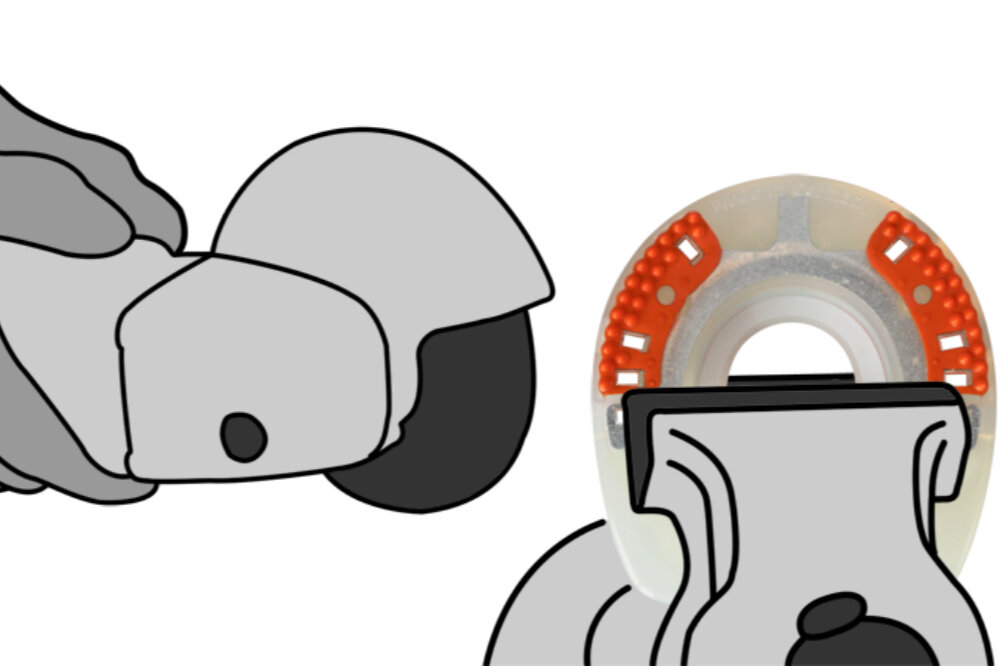
From the numerous Duplo models, choose a horseshoe according to hoof size, hoof shape and intended use. Use an angle grinder or belt grinder to adjust it precisely to the hoof shape. Please remove all knobs from the sole area to avoid putting punctual pressure on the sole.
If necessary, you can grind an additional toe rocker to the horseshoe to facilitate breakover. A bevel at the posterior end of the shoe will reduce the risk of forging.
→ further information
Nailing
You can use the same nails for the Duplo Horseshoe as for a conventional horseshoe if the nail head can't slip through the nail hole. We use, for example, the nail types E, ESL, M and VF.
Place the horseshoe on the hoof and fix its position with two or three nails. Don't drive the nails home just yet so you can still adjust the shoe in a small range. When everything fits, drive the two or three nails home and add the remaining ones. According to our experience, six nails are thoroughly sufficient for keeping the horseshoe in its position.
Please don't forget to adjust the quarter clips to the hoof angle if you are using a clipped horseshoe!
Clinching and Finishing
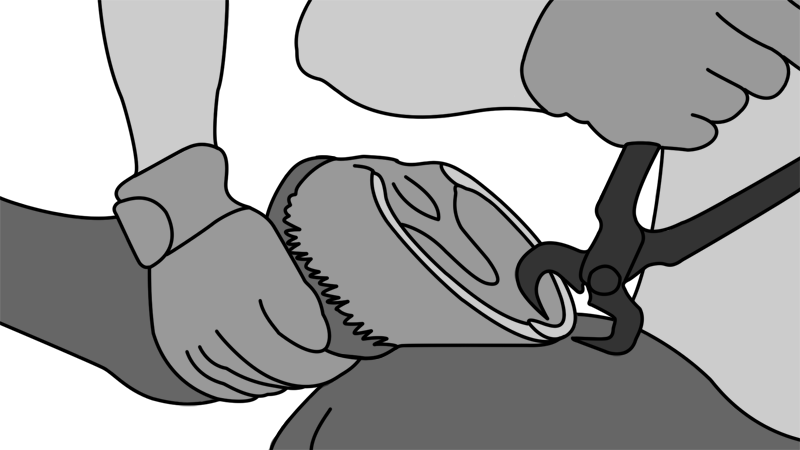
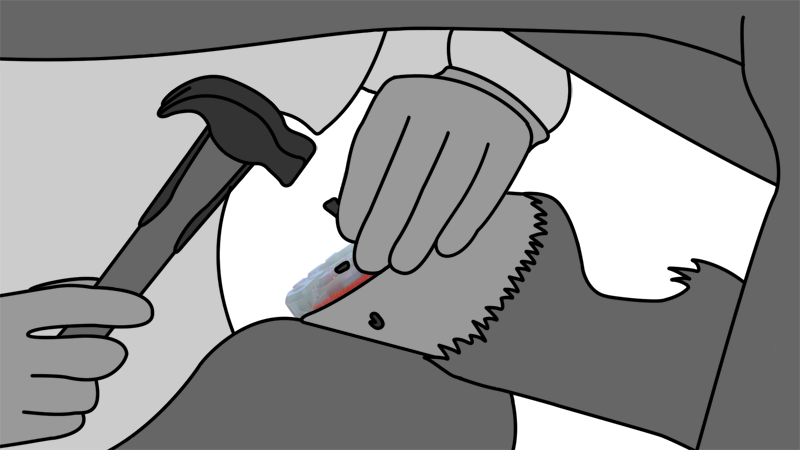
The correct clinching of the nails is extremely important in order to protect the horseshoe against displacements or torsions. Both the method with hammer and nail cutters and the method with clinchers will lead to the correct result if they are carefully applied.
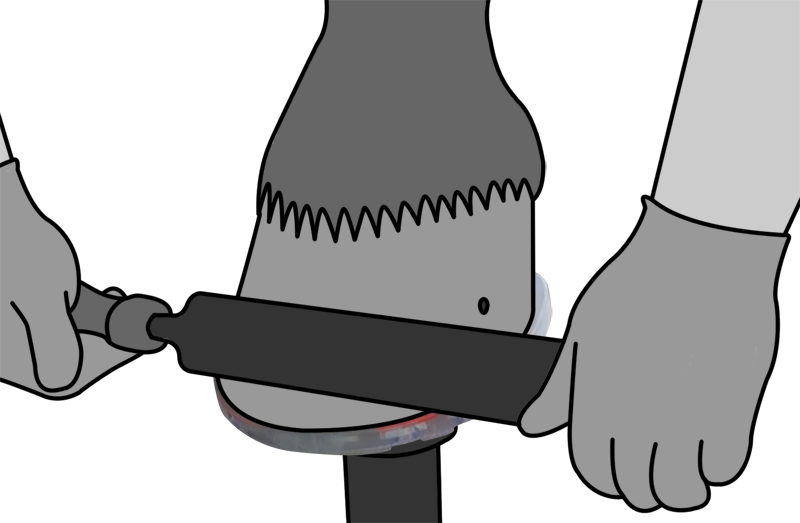
Finally, thoroughly smooth the clinched nails and the hoof wall in order to reduce the risk of injuries by protruding nail ends. Done!

Removing the Horseshoe
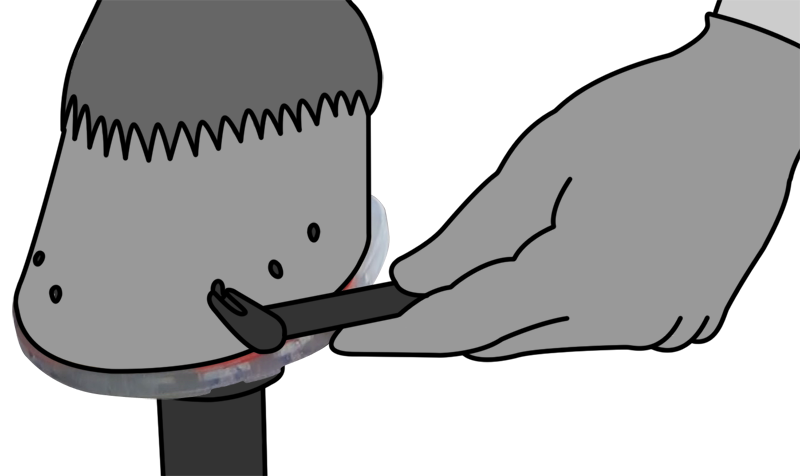
In order to remove a Duplo Horseshoe, we recommend removing each nail separately before taking the horseshoe off. This is quite easy with a nail puller or narrow-ground pincers.

 German
 French
-for-horses.jpg)

